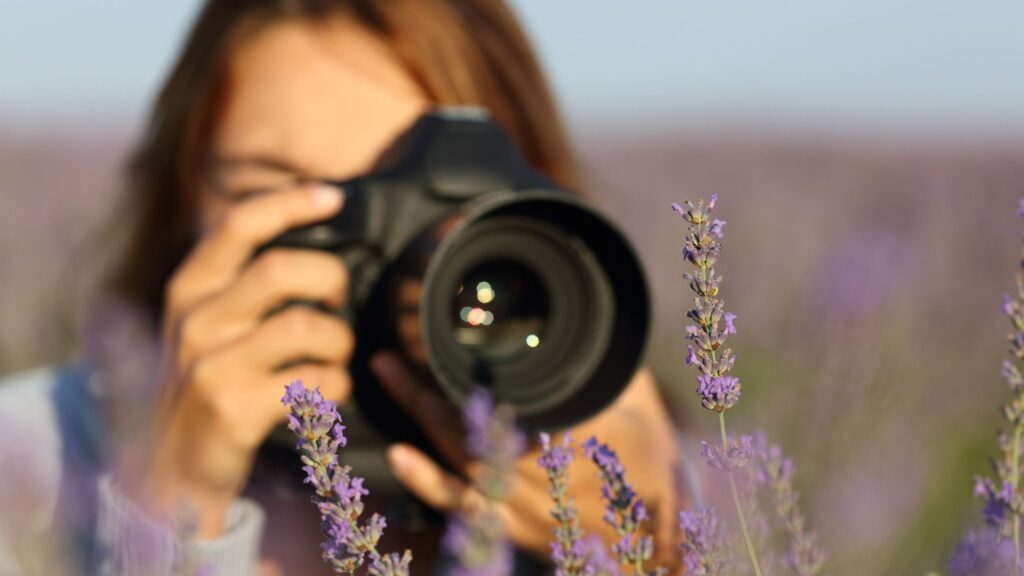
Macro photography is one of those genres that feels magical when you first try it. Suddenly, everyday objects like leaves, insects or even textures on household objects transform into something extraordinary when you see them up close with a macro lens. It’s a great way to push your creativity, but it also comes with its own unique set of challenges compared to other photographic styles. When you pair a macro lens with one of the best cameras for wildlife photography, like the Canon EOS R6 II or pro-level Nikon Z8, the sky is the limit.
Here are five of the most common beginner mistakes in macro photography — and some simple tips to help you avoid them.
1. Choosing the wrong aperture

One of the first hurdles in macro photography is depth of field. At close distances, it becomes razor-thin. Shoot wide open at f/2.8 and you’ll often find only a tiny sliver of your subject is sharp — maybe the tip of a petal or part of an insect’s eye — while everything else melts into a blur.
On the flip side, cranking your aperture down to f/22 or beyond won’t necessarily solve the problem. While it does increase the depth of field, diffraction (a softening effect that happens at very small apertures) can rob your image of fine details.
The sweet spot is usually somewhere in the middle, around f/8 to f/11. At those settings, you’ll have enough depth of field to capture your subject more fully, without losing sharpness. Your aperture will also be dependent on how much ambient light is available to you.
2. Ignoring the light
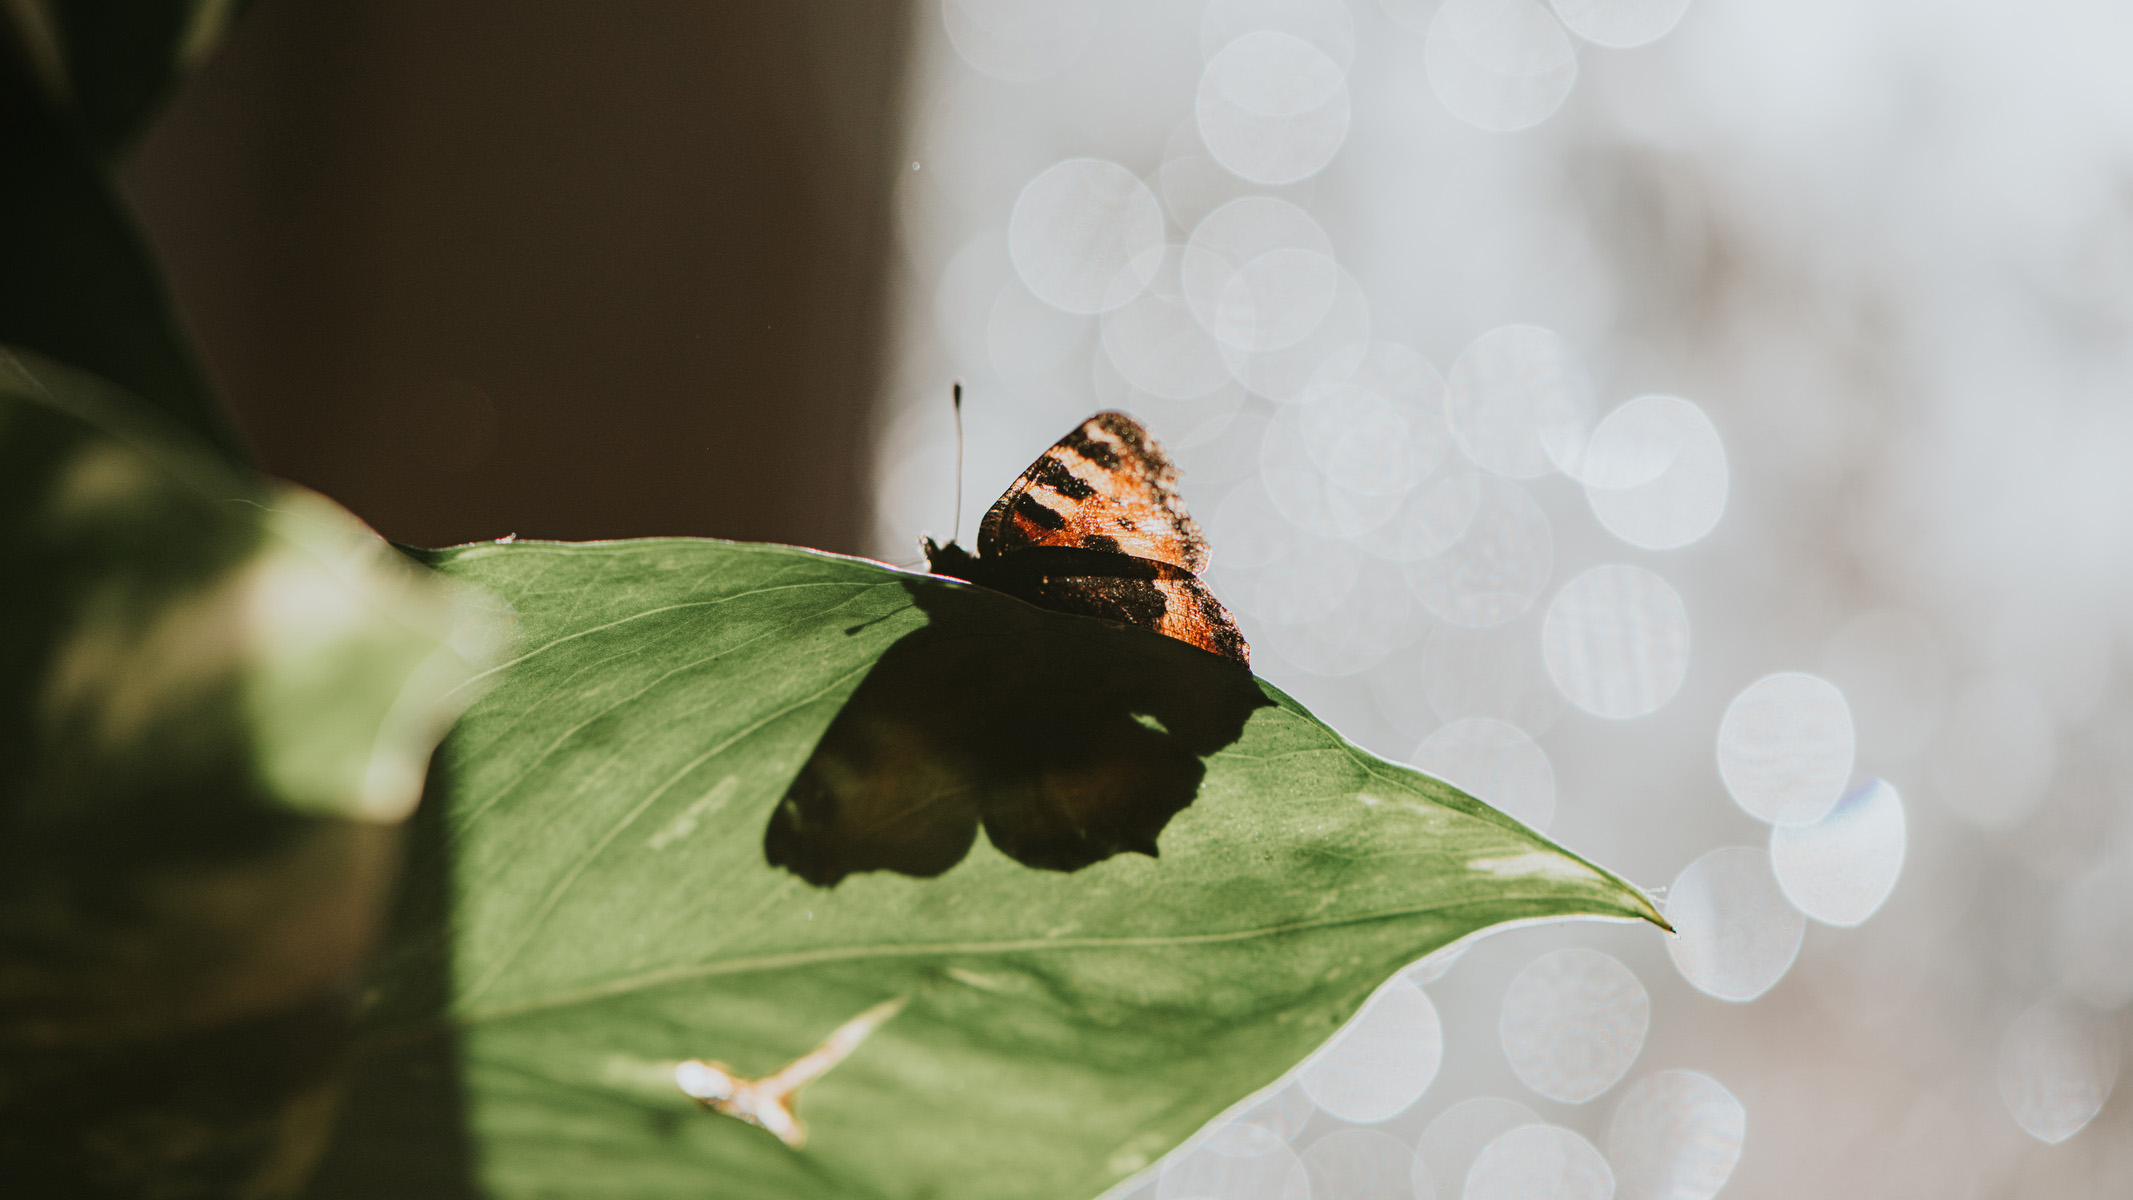
Light is always important in photography, but it’s particularly tricky when you’re working up close to your subject. Shooting outdoors in bright sunlight might seem ideal, but it often results in harsh shadows and blown highlights that overwhelm the delicate details of your subject. On the other hand, dim lighting can force you into using slower shutter speeds that introduce blur.
The solution is to control your light as best you can. Make sure you’re not capturing any harsh shadows in your image, and avoid blocking the light with your body. A simple diffuser can soften harsh light, and a small reflector can bounce light back onto your subject to reduce shadows. Even a white piece of card or kitchen foil can work wonders as a makeshift reflector when you’re just starting out.
3. Relying on autofocus
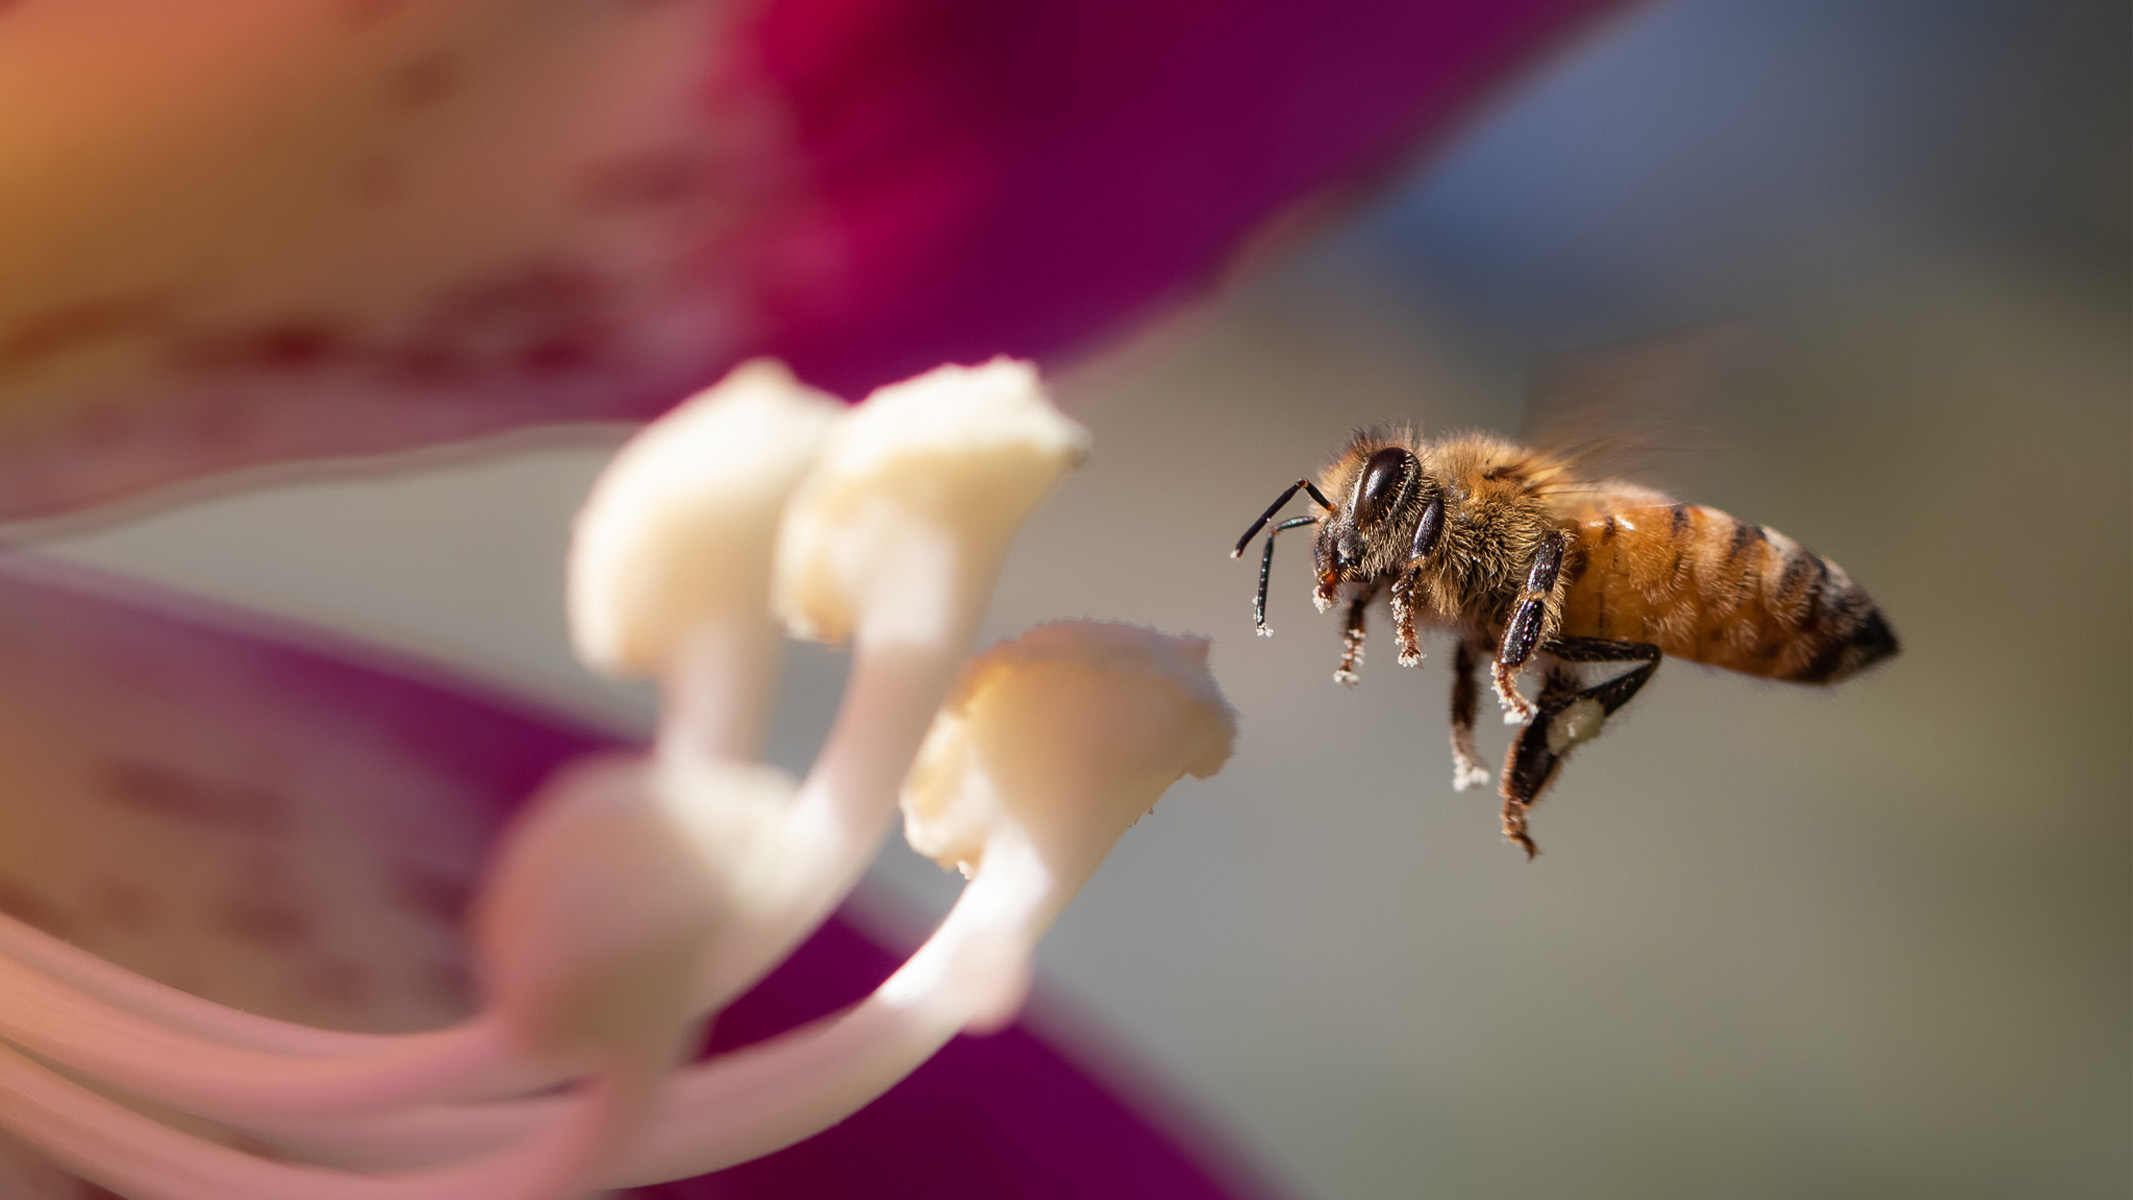
Autofocus has come a long way, but even the best autofocus systems struggle with macro. Because the field of focus is so shallow, your camera will often lock onto the wrong spot of your subject entirely. You think you’ve nailed the shot, only to get home and discover the critical details, like the insect’s eyes, are out of focus.
That’s why manual focus is your best friend in macro photography. By controlling the focus, you can ensure the sharpest part of your image is exactly where you want it. Using live view and focus peaking makes this even easier, as you can see exactly which part of your image is in focus. You can also gently move the camera back and forth — known as ‘focusing with your feet’ — until the desired part of your subject is in focus without having to shift your hold on the lens in order to use the focus ring. Not only does this waste time, but the movement might scare your subject away.
If you’re serious about macro, you could consider getting a focus rail on a tripod. This lets you make tiny and precise adjustments to your focus point.
4. Underestimating the impact of camera shake

Camera shake is the silent killer of sharp photos — especially in macro photography. At high magnifications, even the tiniest vibration — pressing the shutter button, a gust of wind or even your own breathing — can blur your image. Just because your subject might not be moving, it doesn’t mean you aren’t.
To counter this, stability is key. A tripod is the most reliable solution, but if you prefer shooting handheld, make sure to use image stabilization and aim for faster shutter speeds than you’d normally think is necessary. Using burst mode can also increase your chances of getting a sharp frame — a fast burst rate is a key feature of many of the best cameras for wildlife photography.
5. Overlooking backgrounds and composition

When you’re zoomed in on a tiny subject, it’s easy to forget about what’s behind it — especially as you can’t direct insects to land exactly where you want them to. A cluttered background with stray blades of grass or bright spots of light can completely distract from your subject. It’s easy to focus on the technical details and overlook your composition, which is just as important in macrophotography as it is in any other genre.
Paying more attention to the background of your image is key to improving your macro images, which is easiest to do when you’re working with a still subject, like plants or household objects. When you’re photographing insects, try repositioning yourself at various angles until you find a composition you like. Also, keep an eye on color contrast. A bright green bug on a green leaf will get lost, but if you move slightly to capture it against a dark background, it will stand out a lot more.
